When we bought our home last year, the one part of the house that gave us pause was the upstairs bathroom.
The house has a finished basement with a rec room, space for guests and a newly renovated full bathroom. There isn’t a bathroom on the main level (the previous owners took out the powder room when they renovated the kitchen and dining area to open things up and it was definitely the right call!), and then the three bedrooms upstairs share a single, full bath. The upstairs bathroom was the one part of the house that hadn’t been updated and it’s a pretty important part since all 3 bedrooms share it! We looked into the possibility of adding another bathroom but ultimately decided it wasn’t worth it so instead we decided to simply renovate the existing bathroom to update it and make it more functional for our family.
It’s a small bathroom and we kept all of the fixtures in the same locations but we ripped everything out and replaced it all. Since the bathroom is not large (about 5’x7′) and I wanted it to be simple, with a consistent look and feel to the rest of the house, I felt like I could handle the design aspect and really just wanted to find a company to do the actual work (didn’t want to pay someone to pick out white subway tile for me!). I was pretty shocked and appalled when I started receiving estimates for the job but finally came across a company that was reasonable in terms of pricing and timing (Beautiful Home Services – totally recommend!).
We started the process with BHS by receiving an initial visit and follow up quote. After that, one of the owners came by the house, measured everything, talked through it with me and ultimately sent me a “buy-list” which included things like tile square footage, etc. so that I could start making purchases. We bought our floor tile through The Tile Shop and the mirror is West Elm but everything else was just Home Depot and BHS was actually able to use their account to get further discounts. They picked everything up for us and, once it was all in, they got to work.
There was a crew of 3 guys who did all of the work, ripping everything out down to the studs, rebuilding a new subfloor, moving a vent, and installing everything. They completed the job in 7 working days which we were really happy with. (All 4 of us relocated to the basement while the work was going on to stay out of the way and out of the dust so I was grateful that the work was quick!)
Now to the fun part – pictures!
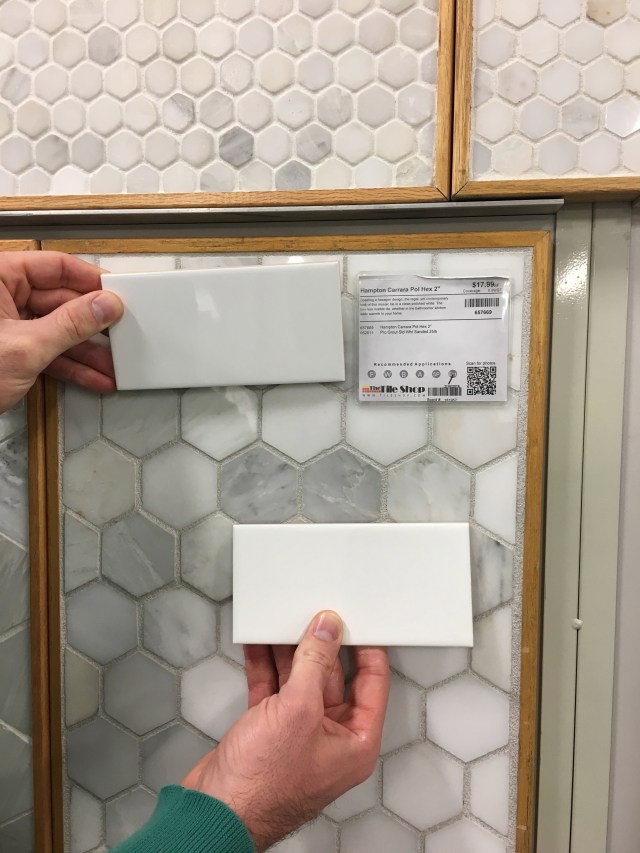
Comparing subway tiles (1 of these is 6x more $$ than the other…) and floor tiles.
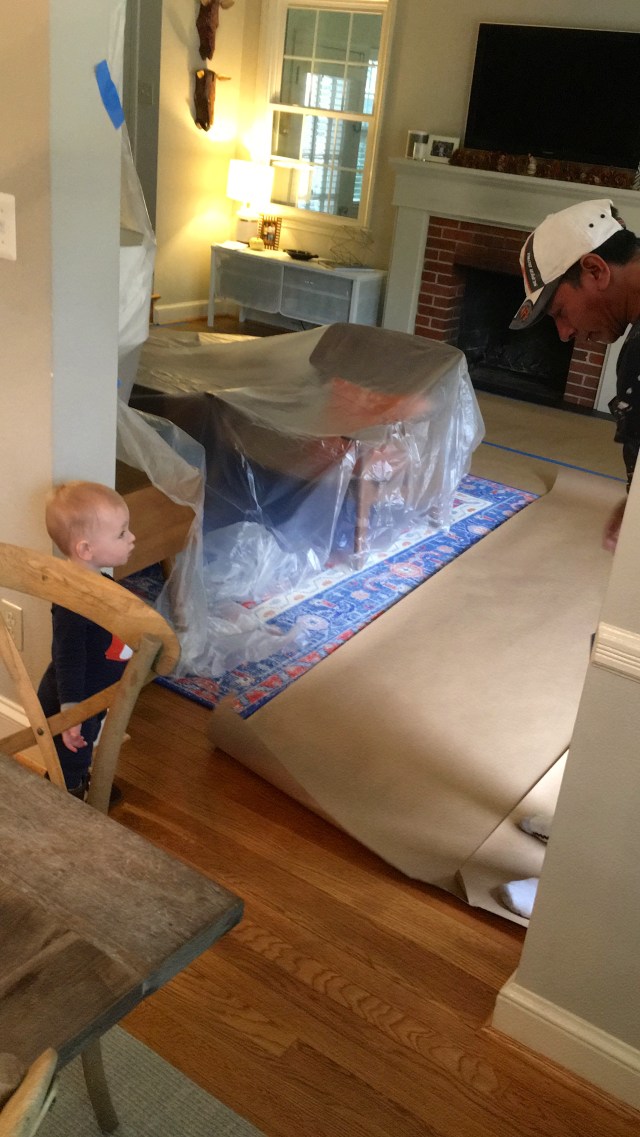
Finn watching everything get prepped for work to begin!
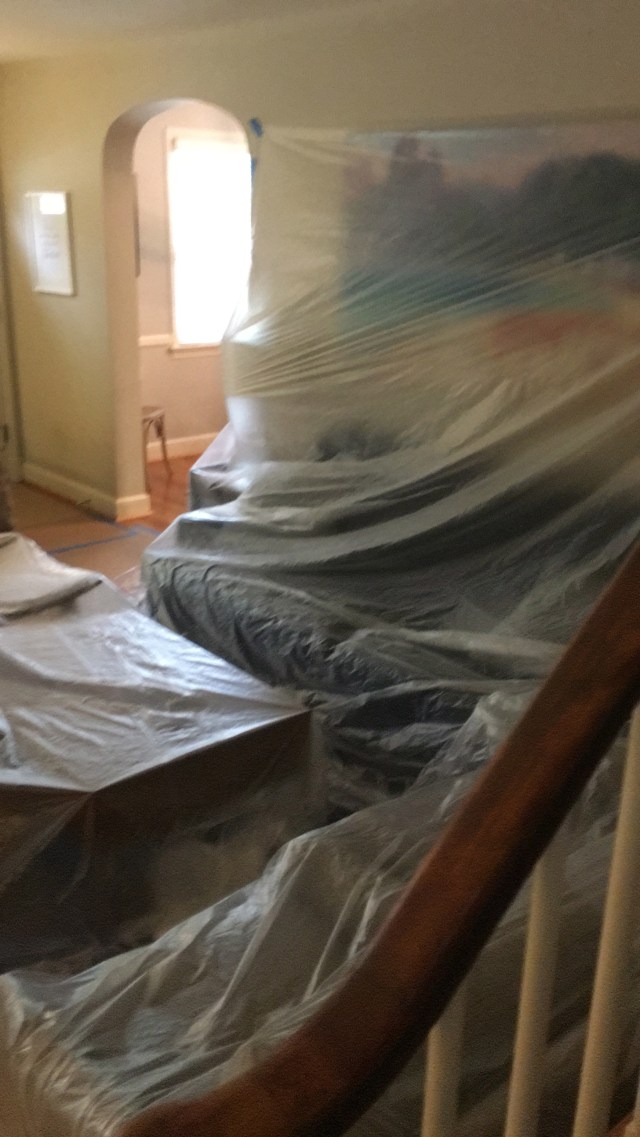
Although the work was upstairs, they were really good about covering everything on the main floor as well.

Everything getting ripped out!
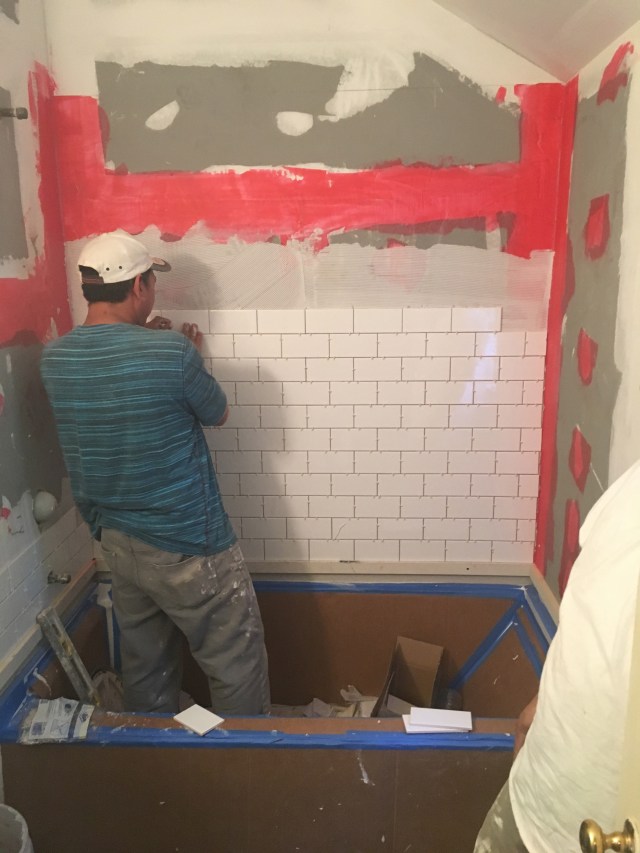
Tiles going in!
OK now the before & afters:
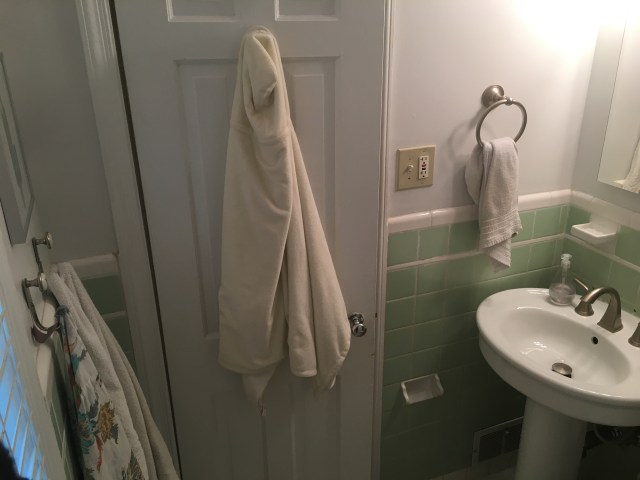
BEFORE: Old green tile, no storage, old tub, small mirror, no style!
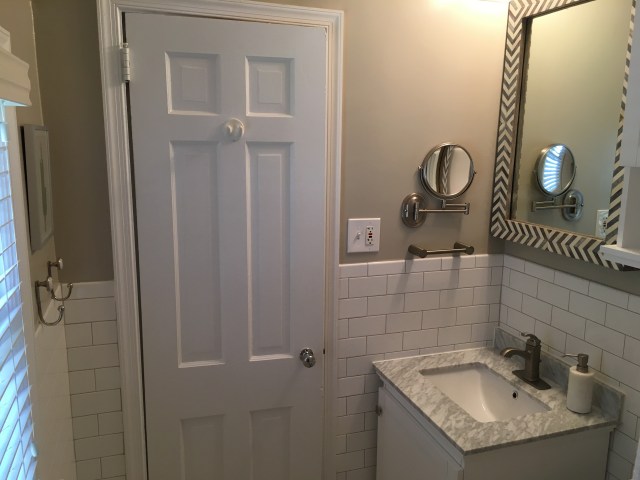
AFTER: White, bright, and storage!
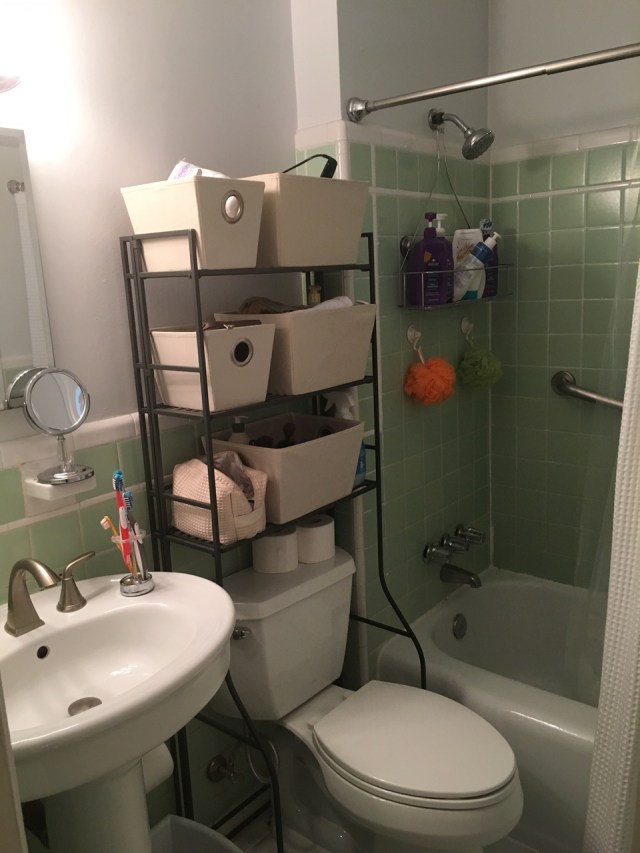
Before 1
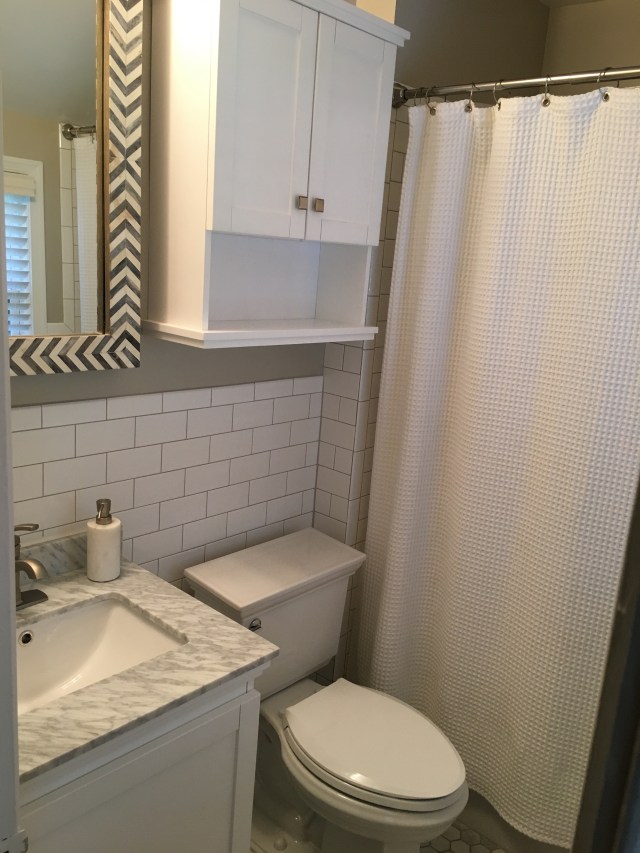
After 1
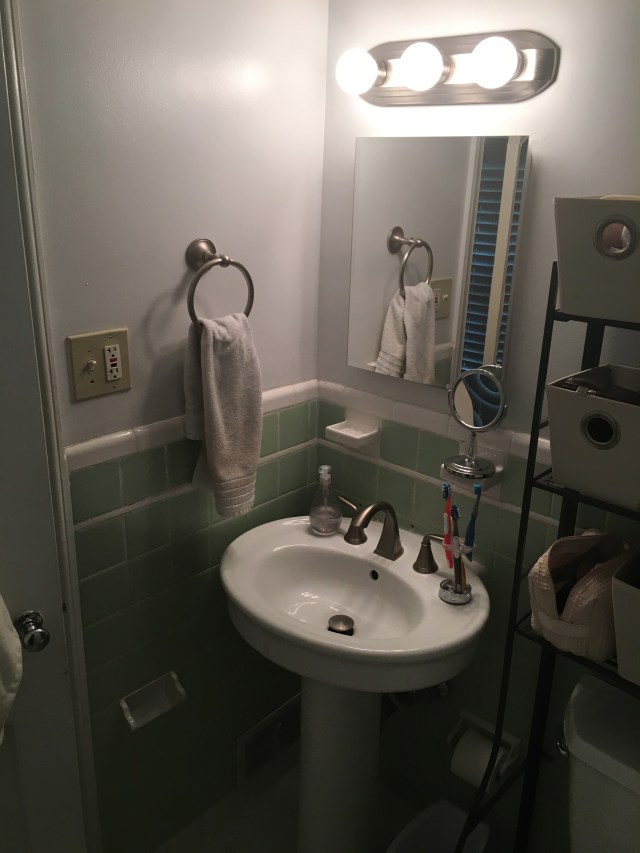
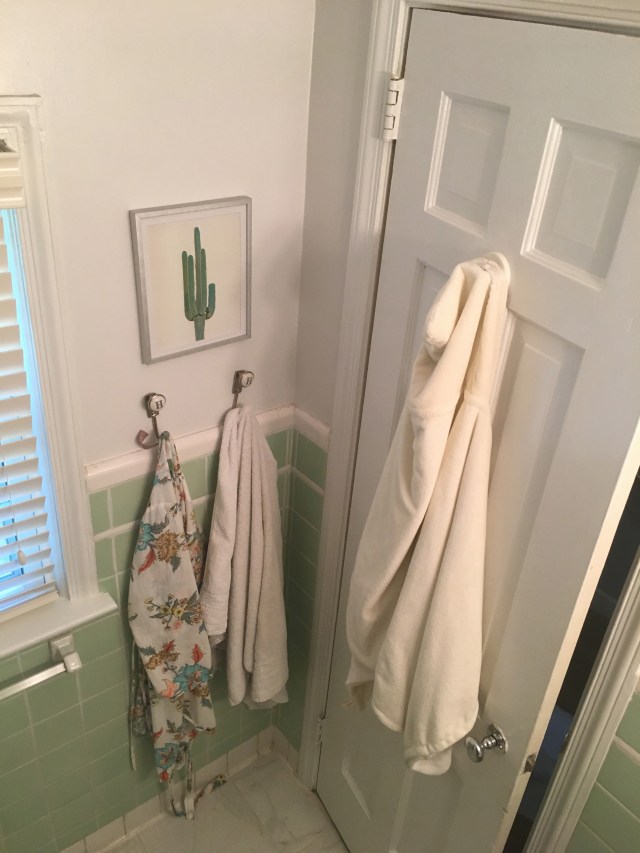
Before 2
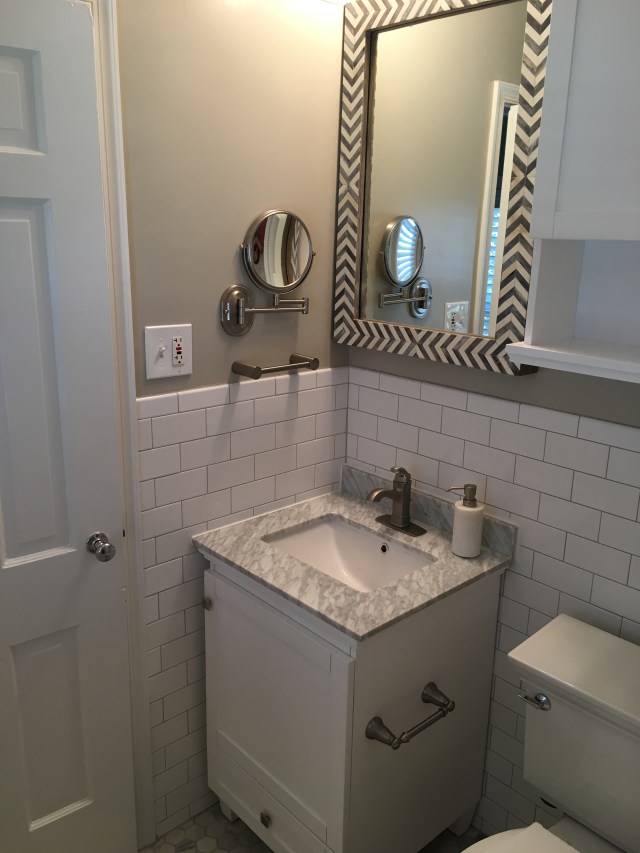
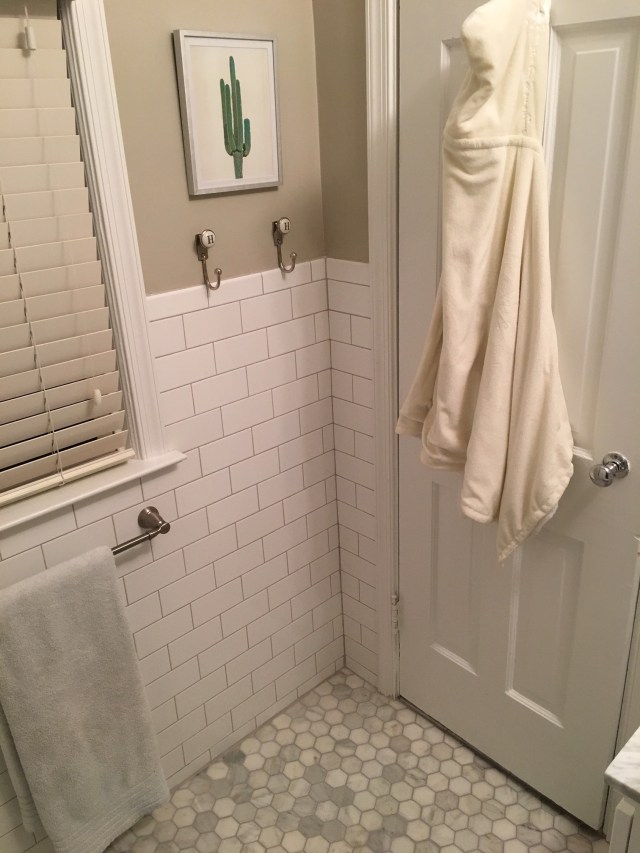
After 2
Before 3
After 3
Before 4
After 4
The vanity and wall cabinet make the bathroom so much more functional for our family and the aesthetic is a major upgrade as well. Thankful we pulled the trigger on this one!

LOVE the new look! Great job picking everything out!
Nice!
Wow I love the new bathroom!